If you ever wished to run a own Internet radio station then here you will find that how you can do it right here right now absolutely FREE.
Yes ! you heard right. Now you can start your own Internet radio station free.
Now you will ask HOW?
So here are 15 steps to follow to become an owner of FREE Internet radio station.
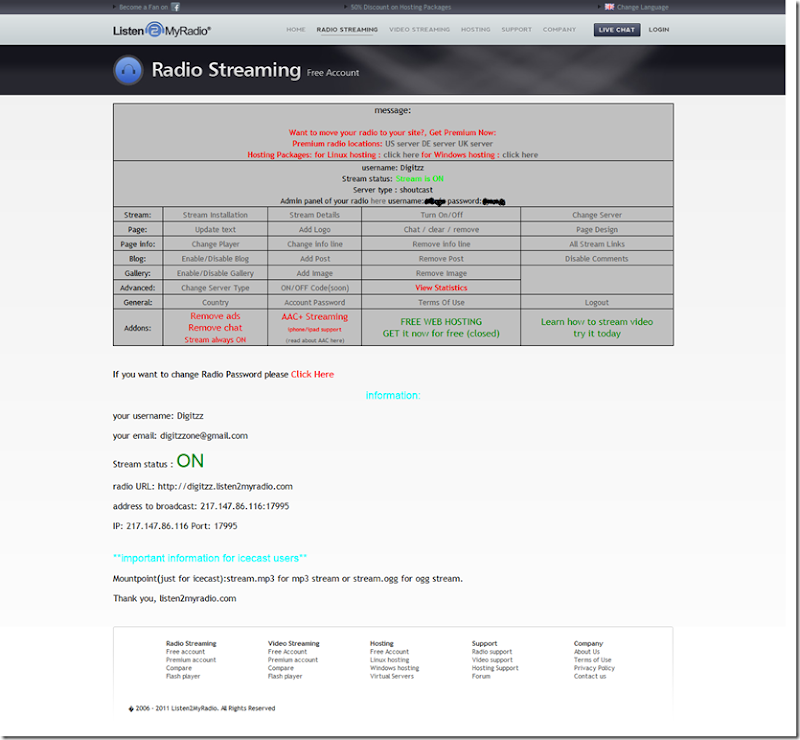
1. First go to www.listen2myradio.com and sign up for free radio account. After signing in click on “press here to install: here”.
2. Now set your broadcaster and admin password. Give title to your radio, write some text about your radio.
At last give URL to your radio station. for e.g. digitzz.listen2myradio.com
3. If URL will be free then you will see the below screen. Click on “PRESS HERE”.
4. Choose server on which you want to run your radio. Best server are UK and US servers to choose.
After 60 seconds click on Radio details.
After that your radio details will be displayed.
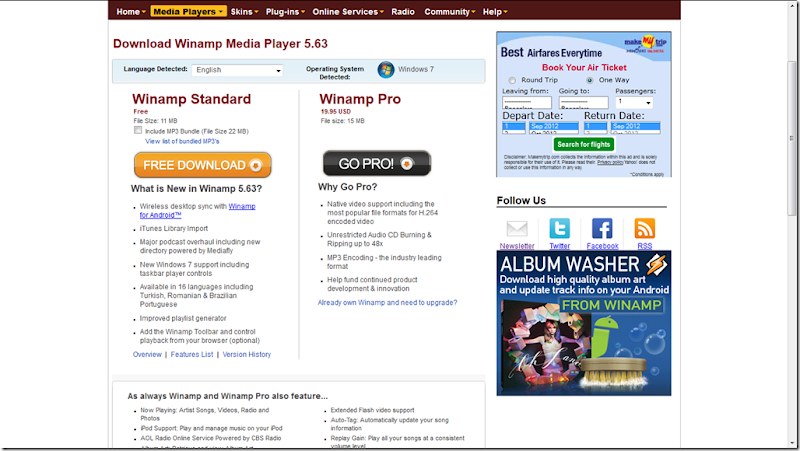
5. Now go to www.winamp.com and download a free standard edition of Winamp media player v5.63 (English, Size: 11 MB).
Install it with default setting and choose skin.
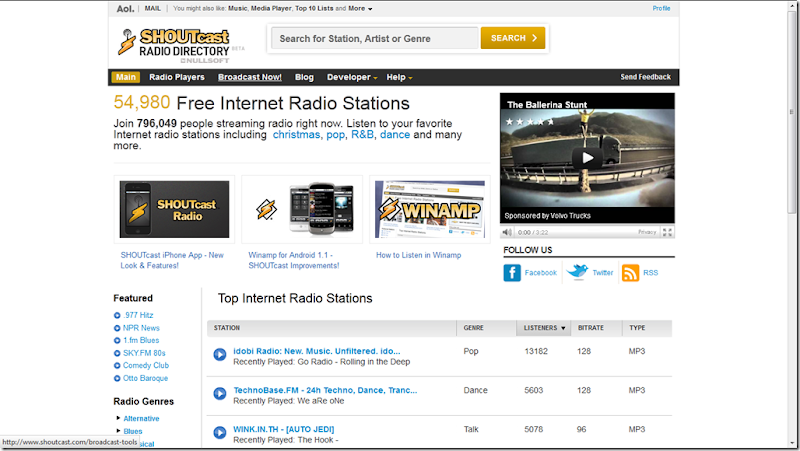
6. Now go to www.shoutcast.com and click on “Broadcast now” and scroll to bottom and download “SHOUTcast DSP Plug-In for Winamp”.
7. Go to “Options” menu and then click “Preferences…” or simply press Ctrl + P.
Scroll in left column and at bottom click on DSP/Effect option. Now choose “SHOUTcast source DSP plugin”.
8. A broadcaster software setting window will open like below. click on output tab. here you will find IP, Port fields to fill in.
9. Now go back to your radio page to get setting details. scroll to bottom until you find IP and port details. (These settings are very important so please be careful while filling these details.
10. Now fill IP address in “Output –> Connection –>” Address field.
Now fill Port details in “Output –> Connection –>” Port field.
Type your user ID and password in respective field. (Password shown on stream details page)
Click on check box of “Use Shoutcast v1 mode (for legacy server)
11. Now switch to yellow page tab and fill in your Description of Radio.
Now URL of radio (e.g. digitzz.listen2myradio.com)
12. Now go to “Encoder” tab and choose type “MP3 Encoder” and setting “128 kbps, 44.100khz, Stereo".
13. Now go to stream page and click on “Turn ON/OFF”. Refresh the page.
14. Now run your song in winamp and click on connect. it will show some bytes are being sent. its means its working fine.
15. Now go to your radio page in browser (e.g. http://digitzz.listen2myradio.com)
You can also watch video tutorial below.
Vdemo:


No comments:
Post a Comment